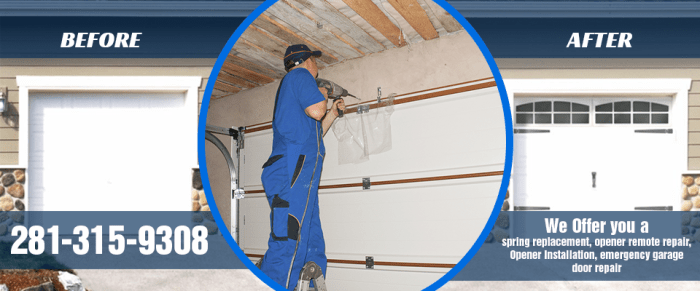
Commercial Garage Door Opener Repair A Comprehensive Guide
Commercial garage door opener repair is a crucial aspect of maintaining smooth operations in businesses and warehouses. From the common issue of a door that won’t open to more complex problems like faulty remotes, this guide provides a detailed overview of the process. Understanding the various types of openers, their typical repair needs, and the associated costs are key elements to navigating this area effectively.
This comprehensive guide covers everything from troubleshooting common issues like noisy operation or slow movement to detailed repair procedures. We’ll explore replacing motors, fixing remotes, and lubricating components, along with a critical section on safety precautions. Ultimately, you’ll learn how to identify and address issues yourself or determine when professional help is necessary.
Introduction to Garage Door Opener Repair
Garage door openers are crucial components of any home, facilitating convenient and safe access to the garage. However, like any mechanical device, they can experience malfunctions. Understanding common problems, the types of openers, and the signs of needing repair is essential for homeowners to maintain a smoothly functioning garage.
Garage door opener issues can stem from a multitude of causes, from simple adjustments to more complex mechanical failures. A thorough understanding of these potential problems can help homeowners proactively address them and prevent more significant, costly repairs down the line.
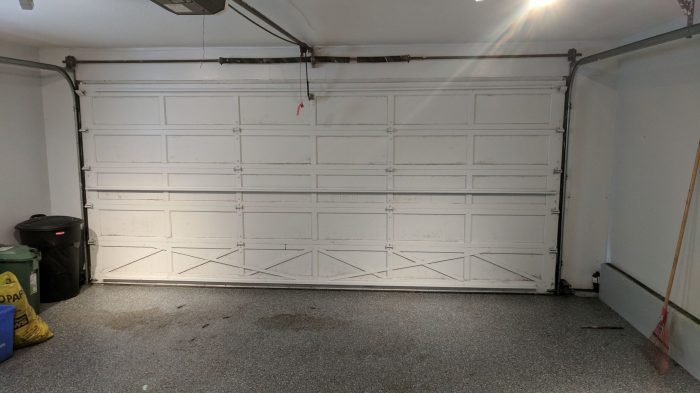
Common Garage Door Opener Problems
Many garage door opener issues stem from worn-out parts, misalignment, or electrical malfunctions. Common problems include:
- Power Issues: The opener may not power on, or it may cycle intermittently. This could be due to a tripped circuit breaker, a faulty capacitor, or a problem with the transformer. For example, a faulty capacitor can lead to the opener not responding to commands, or causing an electrical overload.
- Mechanical Malfunctions: The garage door might not open or close smoothly. This can be caused by a broken spring, a jammed chain or belt, or a misaligned track. A common example is a chain that is worn or stretched, preventing the opener from lifting the door smoothly.
- Remote Control Issues: The remote control might not operate the opener. This could be due to a low battery, a malfunctioning receiver, or a problem with the radio frequency signal. For instance, interference from other electronic devices can disrupt the radio signals, causing the remote to fail to communicate with the opener.
Different Types of Garage Door Openers and Their Repair Needs
Garage door openers come in various types, each with its own potential repair needs.
- Chain Drive Openers: These are typically less expensive but can experience issues with the chain becoming stretched or worn, leading to a noisy or inefficient operation. Maintenance of the chain is crucial to prevent damage to the system.
- Belt Drive Openers: These are often quieter and smoother than chain drive openers but can suffer from belt slippage or breakage. Inspection and replacement of the belt are important to maintain functionality.
- Screw Drive Openers: These are known for their quiet operation but can experience issues with the screw drive mechanism itself, such as damage or misalignment. Regular lubrication and inspection can prevent such problems.
Signs That Indicate a Garage Door Opener Needs Repair
Several signs can indicate that your garage door opener needs repair.
- Noisy Operation: Unusual or excessive noise during operation (e.g., grinding, screeching, or banging) suggests potential mechanical problems.
- Unresponsive Remote Control: If your remote control no longer operates the opener, there could be an electrical or radio frequency issue.
- Inconsistent Operation: If the garage door opens or closes erratically, this could be a sign of a malfunctioning motor or other mechanical components.
Typical Repair Costs
The cost of garage door opener repair varies significantly depending on the problem.
| Problem | Estimated Repair Cost (USD) |
|---|---|
| Faulty Capacitor | $50 – $150 |
| Chain or Belt Replacement | $100 – $300 |
| Motor Replacement | $200 – $500 |
| Track Repair/Replacement | $150 – $400 |
| Remote Control Replacement | $25 – $75 |
Note: These are estimates and actual costs may vary depending on the specific repair needed, labor rates in your area, and the complexity of the problem.
Troubleshooting Common Issues

Identifying the cause of garage door opener problems is crucial for efficient and effective repairs. A systematic approach to diagnosis ensures accurate identification of the source of the malfunction, saving time and resources. This section details methods for diagnosing common issues, from the opener failing to open or close to unusual noises and jerky operation.
Diagnosing a Garage Door Opener That Won’t Open or Close
Proper diagnosis begins with a thorough visual inspection. Check the power supply to the opener for any obvious problems like tripped breakers or loose connections. Inspect the garage door itself for any obstructions, such as debris or items that might be preventing its movement. Verify the remote control’s functionality by testing it on another compatible opener, if available. If the problem persists, check the safety sensors. These sensors are crucial for the opener’s operation and are located on the sides of the garage door. Ensure the sensors are aligned correctly and not obstructed by anything. If these steps don’t resolve the issue, a trained technician should be consulted to assess the opener’s internal mechanisms.
Troubleshooting Unusual Noises
Unusual noises emanating from a garage door opener can signal a range of potential issues. Firstly, listen carefully to identify the specific sound. Is it a grinding noise, a screeching sound, or a clicking sound? Each sound may indicate a different problem. Grinding noises often suggest problems with the gears or chain drive, while screeching sounds can indicate worn-out or misaligned components. Clicking sounds may be related to a malfunctioning safety sensor or a problem with the limit switches. A thorough inspection of the opener’s components, such as the chain, springs, and gears, is often necessary to identify the exact source of the unusual noises. Taking notes about the specific noise and its frequency can help technicians pinpoint the problem more accurately.
Diagnosing a Slow or Jerky Garage Door Opener
A slow or jerky garage door opener can be caused by several factors. A common issue is worn-out or improperly lubricated components. Inspect the chain drive or belt for excessive wear or damage. Lubricating these components can often resolve the problem. Check the springs and cables for any signs of damage or stretching, as these play a crucial role in the door’s smooth operation. Inspect the opener’s motor for any signs of overheating or damage. In some cases, a slow or jerky movement might be indicative of a problem with the limit switches, which regulate the door’s travel range. Ensure the limit switches are correctly adjusted to prevent the door from traveling too far. If the issue persists, seek professional assistance.
Comparing Causes of Inconsistent Operation Across Opener Types
Different types of garage door openers, such as chain drive, belt drive, and screw drive, have different potential points of failure. Chain drive openers, while robust, can develop problems with the chain stretching or breaking. Belt drive openers are often quieter and smoother, but may experience issues with the belt slipping or breaking. Screw drive openers, known for their quiet operation, can encounter problems with the screw mechanism becoming loose or damaged. Understanding the specific characteristics of each type of opener helps technicians diagnose and resolve the issues more effectively.
Troubleshooting Table
| Issue | Possible Causes | Troubleshooting Steps | Tools Needed |
|---|---|---|---|
| Garage door won’t open/close | Power issues, obstructed path, safety sensors, internal motor problems | Check power supply, remove obstructions, check sensor alignment, check for internal issues | Screwdriver, voltmeter |
| Unusual noises | Worn chains/gears, loose components, misaligned tracks | Identify sound, inspect components, and check alignment | Screwdriver, lubrication |
| Slow/jerky operation | Worn components, lubrication issues, limit switch problems, springs/cables | Inspect components, lubricate parts, check the limit switch, check springs/cables | Screwdriver, lubricant, and pliers |
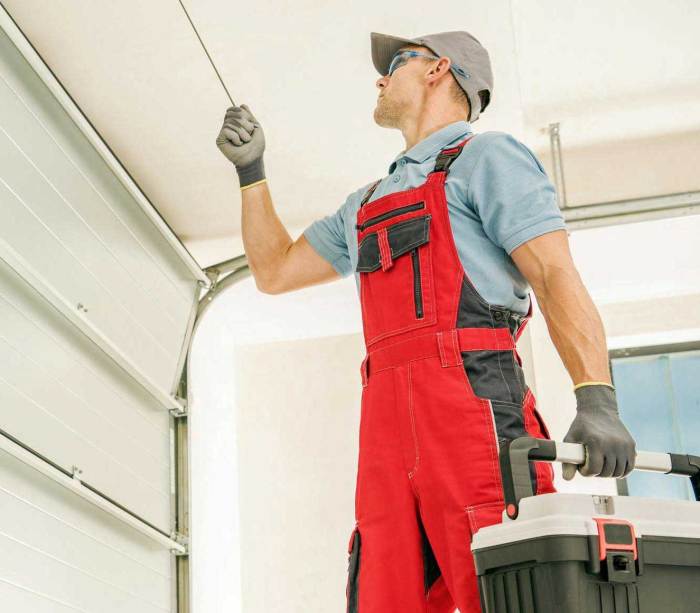
Repair Procedures and Techniques
Maintaining your garage door opener ensures smooth operation and extends its lifespan. Proper maintenance and timely repairs prevent costly breakdowns and potential safety hazards. This section details essential repair procedures for common issues.
Replacing a Garage Door Opener Motor
Replacing a garage door opener motor often involves significant mechanical work. Before starting, disconnect the power supply to the opener. Carefully remove the old motor, ensuring you document its wiring connections for accurate replacement. Install the new motor, connecting wires according to the manufacturer’s instructions. Double-check the alignment of the motor with the garage door track and the safety reversing system. Reconnect the power and test the motor’s operation.
Fixing a Faulty Garage Door Opener Remote
Faulty garage door opener remotes can disrupt your access. First, verify the remote’s battery status. If low, replace it with fresh batteries. If the remote still malfunctions, check the remote’s programming. Refer to the user manual for specific programming procedures, which often involve holding certain buttons or sequences. If the issue persists, consider replacing the remote or contacting a professional.
Lubricating Garage Door Opener Components
Proper lubrication is crucial for smooth operation. Apply a light lubricant, such as lithium grease or white lithium grease, to the hinges, rollers, and tracks. This helps reduce friction and improves the door’s movement. Apply sparingly, focusing on the areas where you hear squeaking or observe friction. Ensure the garage door moves smoothly after lubrication.
Replacing Garage Door Opener Limit Switches
Garage door limit switches control the door’s upward and downward travel. Malfunctioning limit switches can lead to the door not stopping at the desired positions. To replace the limit switches, identify their placement on the opener. Remove the old switches and install the new ones, ensuring their proper connection and alignment. Test the door’s operation to confirm that the switches function correctly.
Tools and Materials for Repair Procedures
| Repair Procedure | Tools | Materials |
|---|---|---|
| Replacing a Garage Door Opener Motor | Screwdrivers (Phillips and flathead), wire strippers, pliers, voltage tester, work gloves | New motor, replacement parts (if needed), safety glasses |
| Fixing a Faulty Garage Door Opener Remote | Screwdrivers (small Phillips), replacement batteries | New batteries |
| Lubricating Garage Door Opener Components | Small container for lubricant, grease gun (optional), gloves | Lithium grease or white lithium grease |
| Replacing Garage Door Opener Limit Switches | Screwdrivers (Phillips and flathead), wire strippers, pliers, voltage tester | New limit switches |
Safety Precautions and Considerations
Proper garage door opener repair necessitates meticulous attention to safety protocols. Neglecting safety measures can lead to serious injury or property damage. This section includes Artikels’ crucial safety precautions and considerations to ensure a safe and successful repair process.
Safety is paramount when working on a garage door opener. Understanding and implementing these precautions will protect you and others from potential hazards. Following these procedures ensures a safe working environment and reduces the risk of accidents.
Importance of Safety in Garage Door Opener Repair
Safe practices are fundamental during any garage door opener repair. Improper procedures can lead to accidents, ranging from minor cuts and bruises to severe injuries like electric shocks or falls. Understanding and adhering to safety measures is crucial for personal well-being and minimizing the risk of accidents. This includes recognizing and mitigating potential hazards.
Safety Measures During Disassembly and Assembly
Before starting any disassembly, ensure the garage door is securely disengaged and the power supply is disconnected. This precaution prevents accidental operation during the repair process. Properly securing the garage door in the fully-open or fully-closed position is crucial. Always use appropriate tools and protective gear during disassembly and assembly. Thoroughly inspect all components for damage before reassembly, ensuring all parts are in their correct positions. Carefully follow the manufacturer’s instructions for reassembly to maintain the garage door’s optimal function and safety.
Potential Dangers of Improper Repair Procedures, Commercial garage door opener repair
Improper repair procedures can lead to several hazards. Working with live electrical components without proper safety measures poses a risk of electric shock. Inadequate disengagement of the garage door can result in injury from the moving parts. Incorrectly assembling components can compromise the garage door’s structural integrity, potentially leading to failure and injury. It is vital to follow the manufacturer’s instructions and established repair protocols to prevent these hazards.
Safety Equipment for Garage Door Opener Repair
Appropriate safety equipment is essential during garage door opener repair. Safety glasses protect the eyes from flying debris. Work gloves prevent cuts and abrasions. Non-slip footwear ensures stability on potentially uneven surfaces. If electrical work is involved, rubber-soled shoes and insulated tools are mandatory. This ensures the safety of the technician and minimizes the risks associated with working with electrical components.
Potential Hazards and Corresponding Safety Precautions
| Potential Hazard | Safety Precautions |
|---|---|
| Electric Shock | Disconnect the power supply before any work. Use insulated tools and rubber-soled shoes. Ensure proper grounding of equipment. |
| Moving Parts | Disengage the garage door from its power source. Secure the garage door in a safe position. Wear appropriate eye protection and gloves. |
| Falling Objects | Use appropriate safety harnesses and fall protection equipment when working at elevated heights. Secure any loose materials or components. |
| Tripping/Falling | Wear non-slip footwear. Ensure a stable work area. Use ladders and scaffolding if necessary. |
| Cuts/Abrasions | Wear appropriate work gloves. Inspect all tools and equipment for damage before use. |
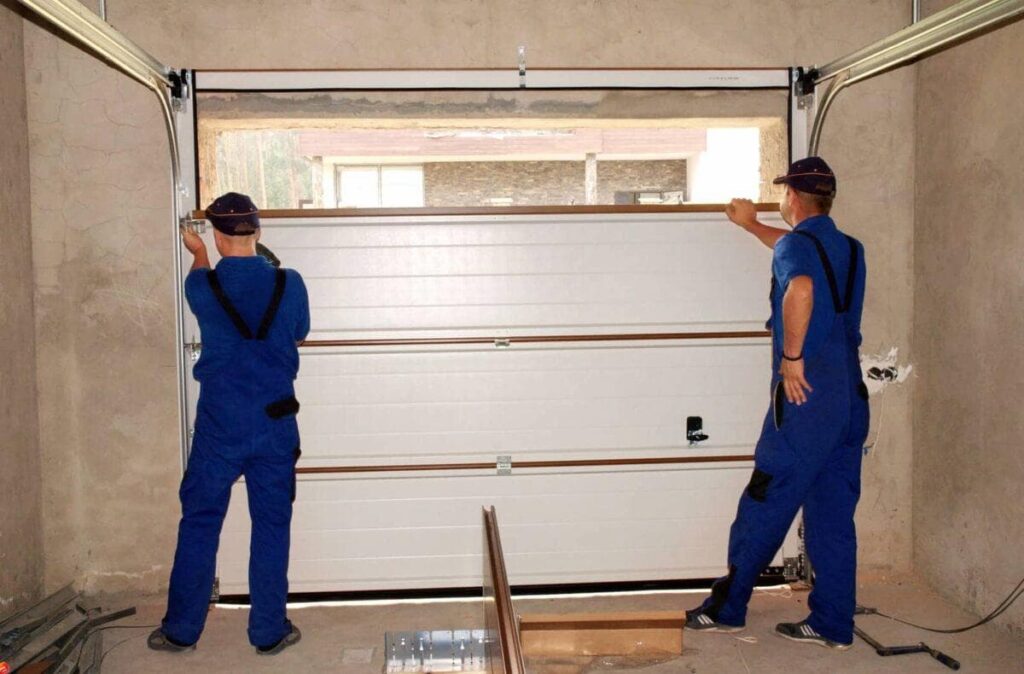
Parts Replacement and Ordering
Replacing a garage door opener part often requires precise identification. Understanding the specific model and the exact component needed minimizes errors and ensures a proper fit. Incorrect parts can lead to further issues or even damage to the system. A well-informed approach to part replacement saves time and money.
Identifying Specific Parts Needed
Accurate identification of the required part is crucial for a successful repair. Begin by consulting the owner’s manual for the garage door opener. It usually contains detailed specifications, including model numbers, part diagrams, and component descriptions. If the manual is unavailable, the serial number etched on the opener itself can be used to access model-specific information online or from the manufacturer’s support website. Careful examination of the malfunctioning component provides valuable clues about the required replacement part.
Ordering Replacement Parts
Ordering replacement parts involves a few key considerations. Online retailers often provide extensive selections, enabling quick comparisons and easy ordering. Local hardware stores or specialty garage door supply stores might have the parts in stock, allowing for immediate pickup. Comparing prices across different sources is essential to finding the most cost-effective option. A comprehensive price comparison will reveal potential savings and avoid overspending.
Finding Replacement Parts
Several avenues are available for locating replacement parts. Online retailers such as Amazon, eBay, and specialized garage door parts websites often offer a wide range of parts for various brands and models. Local hardware stores or home improvement centers may stock parts for common garage door openers. Specialty garage door retailers provide specialized knowledge and expertise, offering potential assistance in identifying the right part. Directly contacting the garage door opener manufacturer is another option for sourcing parts, though it might involve a slightly longer process.
Comparing Prices and Features
Comparing prices and features is vital before purchasing replacement parts. Online comparison tools or spreadsheets can organize pricing and features across multiple vendors. Pay close attention to the quality of the material and the manufacturer’s reputation. Review customer reviews to gauge the reliability and performance of different brands and models. A balanced consideration of price, quality, and reputation will ensure a reliable and durable replacement part.
Comparing Brands and Models of Garage Door Opener Parts
The following table provides a comparison of common garage door opener parts from different manufacturers. Note that specific models and features may vary.
| Part | Brand A | Brand B | Brand C |
|---|---|---|---|
| Spring | Durable steel, 10-year warranty | Galvanized steel, 5-year warranty | Stainless steel, lifetime warranty |
| Chain | Heavy-duty, zinc-plated | Standard, galvanized | Extra-heavy-duty, stainless steel |
| Motor | High-torque, 2-year warranty | Standard torque, 1-year warranty | Variable torque, 3-year warranty |
| Track | Powder-coated steel, lifetime warranty | Galvanized steel, 10-year warranty | Stainless steel, lifetime warranty |
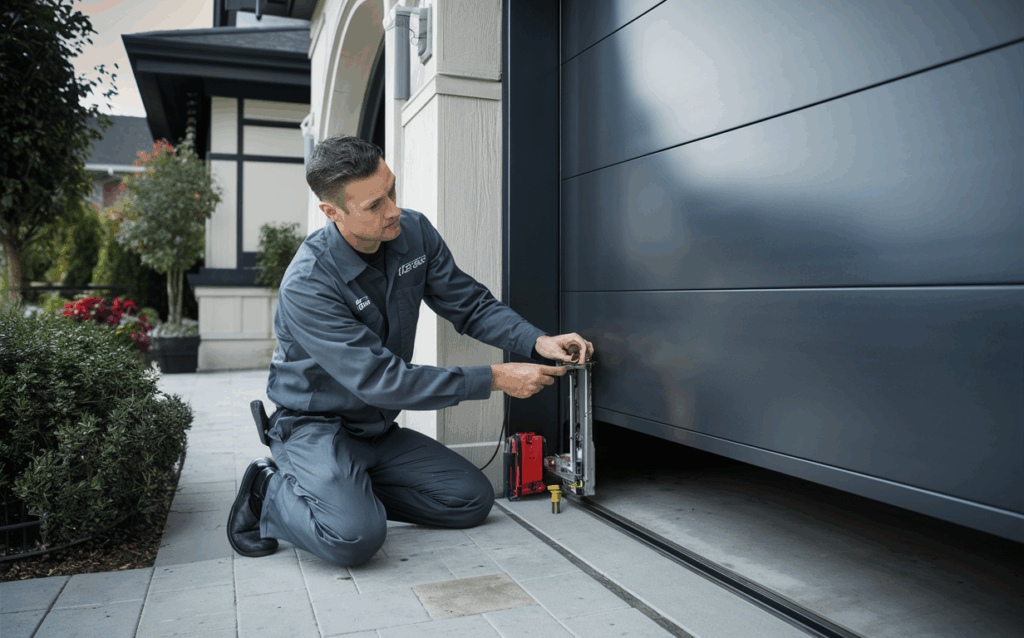
DIY vs. Professional Repair
Choosing between a DIY garage door opener repair and hiring a professional depends on several factors, including your technical skills, budget, and the complexity of the issue. Weighing the advantages and disadvantages of each approach is crucial before undertaking any repairs.
A DIY approach can be cost-effective and empowering, but it also carries risks. Conversely, professional repair ensures expertise and safety, but comes at a higher cost. Understanding the potential benefits and drawbacks of each method can help you make an informed decision.
Advantages of DIY Repair
A DIY approach can save money, allowing you to tackle repairs without incurring labor costs. It can also increase your sense of accomplishment and provide a hands-on learning experience. In cases of minor issues, a DIY repair might be perfectly feasible and quite satisfying.
Disadvantages of DIY Repair
DIY repairs can be risky if not approached with the appropriate knowledge and safety precautions. Incorrect procedures could lead to further damage, injuries, or even void warranties. Moreover, certain repairs require specialized tools and knowledge that a homeowner might not possess.
Costs and Time Comparison
DIY repairs can save on labor costs, but the time commitment can be significant, depending on the repair’s complexity. Professional repair services offer speed and expertise, but the cost reflects this advantage. For example, replacing a faulty motor might take a weekend for a homeowner but could be completed in a few hours by a technician.
Skills Required for DIY Repair
A basic understanding of mechanics and electrical systems is helpful for DIY garage door opener repairs. Specific tools, such as torque wrenches and voltage testers, might be necessary. Troubleshooting skills and the ability to follow instructions carefully are essential. A familiarity with the specific model of garage door opener is also valuable.
Situations Favoring Professional Repair
There are several situations where professional repair is the best option. These include complex issues, such as faulty sensors or wiring problems, where the potential for damage or safety risks is high. If you are unsure about the necessary steps, hiring a professional is often the wisest choice. For example, a malfunctioning spring system poses a significant safety hazard and should be addressed by a professional. Also, any repair that involves intricate mechanisms or specialized tools would best be handled by a professional.
Table Comparing DIY and Professional Repair
| Feature | DIY Repair | Professional Repair |
|---|---|---|
| Cost | Potentially lower, but may incur costs for parts | Higher, but includes labor and expertise |
| Time | Potentially longer, depending on complexity | Potentially shorter, due to experience and specialized tools |
| Safety | Higher risk of injury or further damage if not done correctly | Lower risk, due to expertise and adherence to safety protocols |
| Warranty | Potential voiding of the manufacturer’s warranty | Repairs are typically covered under the warranty |
| Complexity | Suitable for simple issues | Ideal for complex or safety-critical repairs |
Preventing Future Problems
Proactive maintenance is key to avoiding costly garage door opener repairs. Regular checks and upkeep can significantly extend the lifespan of your system and minimize the risk of unexpected breakdowns. By following a simple preventative maintenance routine, you can ensure smooth operation and avoid costly interventions down the road.
A well-maintained garage door opener is a reliable and safe system. This involves more than just occasional checks; it’s about establishing a consistent schedule for inspecting and servicing critical components. This proactive approach ensures optimal performance and reduces the likelihood of costly repairs.
Regular Maintenance and Lubrication
Proper lubrication is crucial for smooth operation and longevity. Lubricating moving parts, such as the chain, gears, and tracks, reduces friction and wear. This minimizes stress on the system and prevents premature failure. Use a suitable lubricant specifically designed for garage door components. Avoid using household oil, as it can attract dirt and grime, negating the benefits of lubrication.
Checking Garage Door Alignment
Regularly inspecting the alignment of the garage door is essential. Misalignment can lead to uneven wear and tear on the opener’s components. This can result in increased friction, making the opener work harder and potentially leading to breakdowns. Visually inspect the door’s alignment, paying attention to any gaps or mismatches between the door and the tracks. If misalignment is detected, address it promptly to avoid further damage.
Periodic Safety Inspections
Routine safety checks are paramount to preventing accidents. This involves inspecting the safety sensors, the automatic reversing system, and the door’s overall structural integrity. Malfunctioning safety sensors can prevent the opener from reversing, leading to potential damage or injury. Inspecting these systems helps prevent accidents and ensures the opener operates safely. A professional inspection can identify potential hazards and provide expert advice on addressing any issues.
Maintenance Tasks and Frequency
| Task | Frequency |
|---|---|
| Lubricate moving parts (chain, gears, tracks) | Monthly |
| Inspect the garage door alignment | Quarterly |
| Check safety sensors and the reversing system | Monthly |
| Inspect the door’s overall structural integrity | Quarterly |
| Inspect the springs (if applicable) | Annually or as recommended by a professional |
Regular maintenance significantly reduces the risk of unexpected repairs and ensures the longevity of your garage door opener.
Illustrative Examples of Repair Scenarios: Commercial Garage Door Opener Repair
Garage door openers, while convenient, can encounter various issues. Understanding common problems and their solutions is key to maintaining smooth operation and avoiding costly repairs. These examples will demonstrate troubleshooting and repair procedures.
Garage Door Opener Won’t Close
This common issue can stem from several factors. A faulty limit switch, preventing the door from traveling the full distance, is a frequent culprit. Another possibility is a problem with the safety sensors, which detect obstructions and halt the door’s movement. Electrical problems, such as a tripped circuit breaker or a malfunctioning motor, are also potential causes.
Troubleshooting steps typically begin with checking the safety sensors. Ensure they are properly aligned and unobstructed. If they are, the next step is to inspect the limit switches. Verify they are properly adjusted. If both are functioning correctly, the problem could be with the motor or the circuit. If the motor or circuit is found to be faulty, professional repair or replacement may be necessary.
Replacing a Garage Door Opener Spring
Replacing a garage door opener spring is a complex procedure that requires significant safety precautions. Never attempt this task without proper training and equipment. Incorrect procedures can lead to severe injury.
The process typically involves disconnecting the power supply and disengaging the opener from the door. Carefully inspect the spring’s condition and determine the type of spring (torsion or extension). Consult a qualified technician to ensure correct spring replacement procedures and specifications. Proper torque and tension are crucial for the safety and longevity of the system.
Garage Door Opener Making Loud Noises
Loud noises from a garage door opener can indicate several underlying problems. These include a misaligned or damaged gear system, an issue with the chain or belt drive, or a problem with the motor itself.
Diagnosing the source of the noise typically involves carefully listening to the sounds. Identifying the specific location and type of noise can help narrow down the potential causes. For instance, a grinding noise might suggest a gear problem, while a screeching noise could point to a belt issue. If the noise is coming from the motor, it could be a sign of an overloaded motor, worn-out bearings, or a faulty capacitor. Professional repair may be required.
Faulty Garage Door Opener Remote
A faulty garage door opener remote often requires a simple replacement. The remote’s battery may need replacing, or the remote itself may be malfunctioning.
To replace the remote, carefully remove the old remote. Check the instructions or documentation to ensure correct installation. Verify the remote is compatible with the specific garage door opener model. Ensure the new remote has the same frequency as the original one. Incorrect pairing can lead to difficulties operating the door.
Table of Repair Scenarios and Solutions
| Repair Scenario | Troubleshooting Steps/Solutions |
|---|---|
| Garage Door Opener Won’t Close | Check safety sensors, limit switches, and electrical connections. If issues persist, consult a professional. |
| Garage Door Opener Spring Replacement | Disconnect power, engage safety mechanisms, and consult a qualified professional for the correct procedure. |
| Garage Door Opener Making Loud Noises | Identify the source and type of noise to diagnose the problem. Consider professional assistance for complex issues. |
| Faulty Garage Door Opener Remote | Replace the battery or the remote itself. Ensure compatibility with the opener model. |
Visual Aids and Diagrams
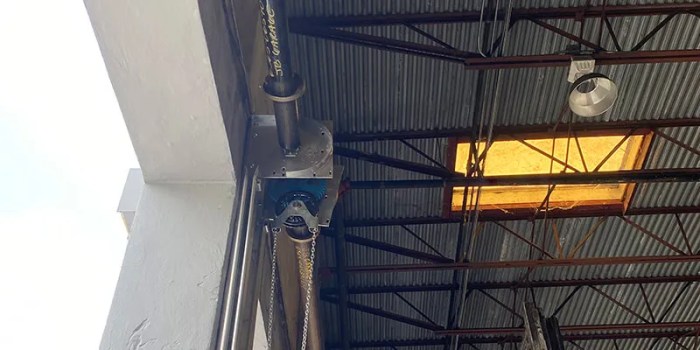
Source: clt-garagedoorrepair.com
Visual aids are crucial for understanding complex garage door opener repair procedures. Clear diagrams and illustrations can simplify intricate mechanisms, making troubleshooting and repair tasks more accessible. They provide a visual reference for identifying components, understanding their functions, and following repair steps correctly.
Internal Components of a Garage Door Opener
Understanding the internal components of a garage door opener is essential for troubleshooting and repair. A visual representation of these components will significantly aid in identifying potential problems and guiding repair procedures.

The above diagram illustrates the essential internal components of a typical garage door opener. Key components include the motor, drive chain or belt, limit switches, safety sensors, and the control panel.
Troubleshooting Flowchart
A well-structured flowchart provides a systematic approach to diagnosing garage door opener problems. This systematic approach ensures that potential causes are systematically checked.

The flowchart above provides a systematic approach for diagnosing common garage door opener problems. Each step leads to either a solution or further diagnostic steps, ensuring that the root cause is identified efficiently.
Correct Alignment Diagram
Proper alignment of the garage door opener is critical for smooth and safe operation. Misalignment can lead to damage or improper functioning.

The diagram depicts the correct alignment of the garage door opener’s tracks and the door itself. Precise alignment ensures smooth operation and minimizes strain on the components.
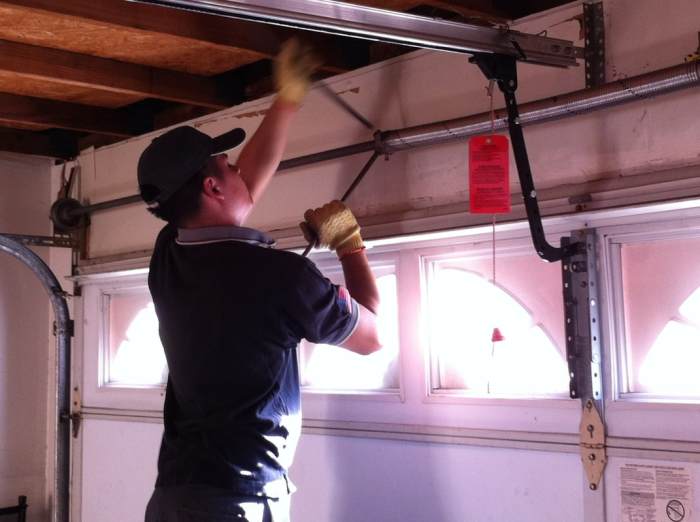
Garage Door Opener Limit Switch Illustration
Understanding the function and placement of limit switches is vital for proper garage door operation. A detailed illustration of a limit switch will help in identifying potential issues.

The illustration showcases a limit switch, highlighting its crucial role in controlling the door’s travel range. Properly functioning limit switches prevent the door from hitting the ceiling or floor.
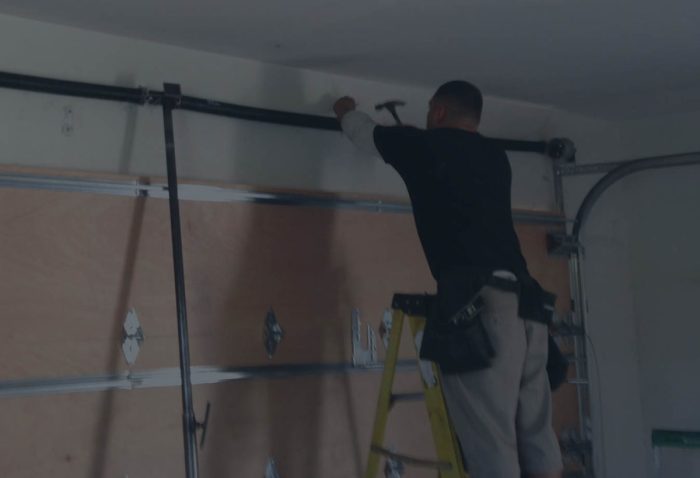
Repair Procedure Steps
Visual representations of the repair steps provide a comprehensive guide for DIY repairs. This allows users to accurately follow the steps.

The series of images below depicts the specific steps for replacing a garage door opener’s belt. Each image provides a clear view of the steps involved, enabling users to visually follow the process.
- Disconnect the power to the garage door opener.
- Carefully detaching the old belt from the motor and drum.
- Inspect the condition of the motor and pulley for damage or wear.
- Correctly installing the new belt.
- Reconnect the power to the garage door opener.
Epilogue
In conclusion, this guide has provided a comprehensive overview of commercial garage door opener repair. We’ve explored the diagnostic steps, repair procedures, safety considerations, and the benefits of both DIY and professional solutions. By understanding the intricacies of these systems, you can effectively maintain optimal operation and prevent costly breakdowns. From identifying the specific parts needed to understanding the crucial steps in preventative maintenance, this guide equips you with the knowledge to ensure smooth, safe, and efficient garage door functionality.